Saturday, September 18, 2010

Guess whose featured on Hampton Roads Bride's website?

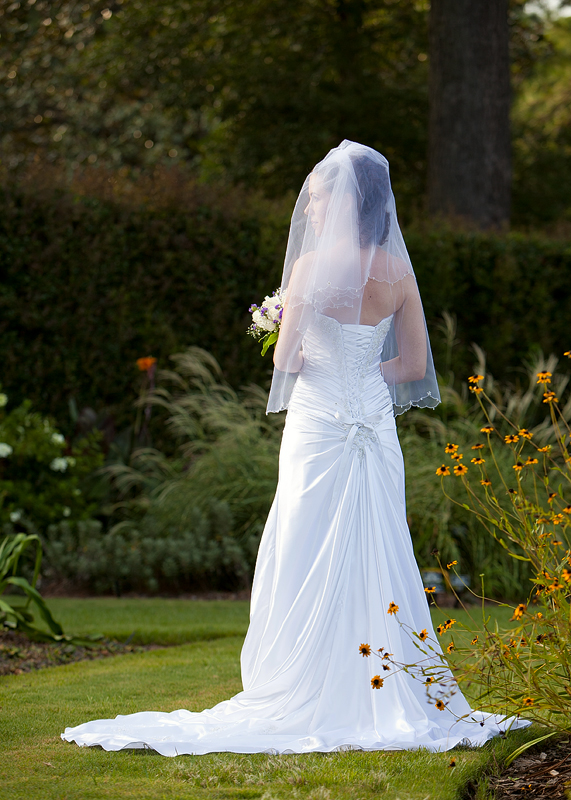
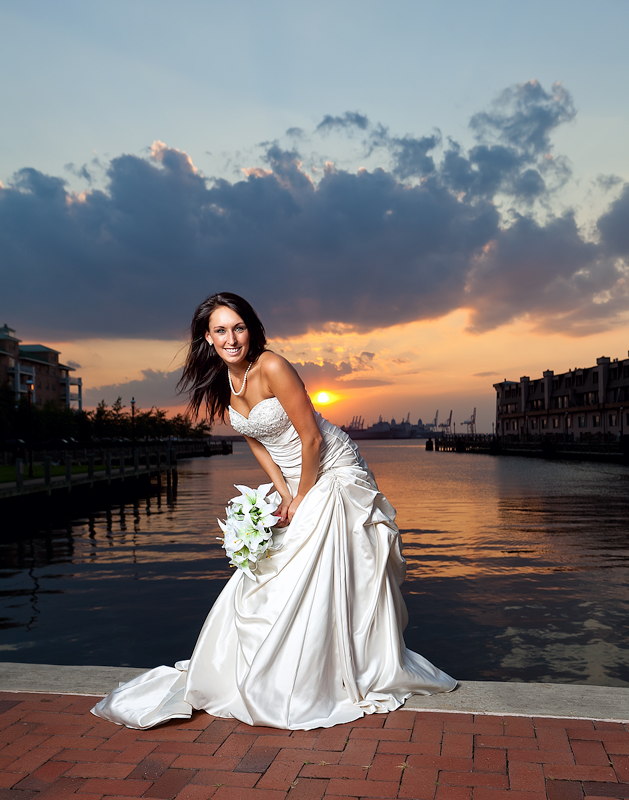
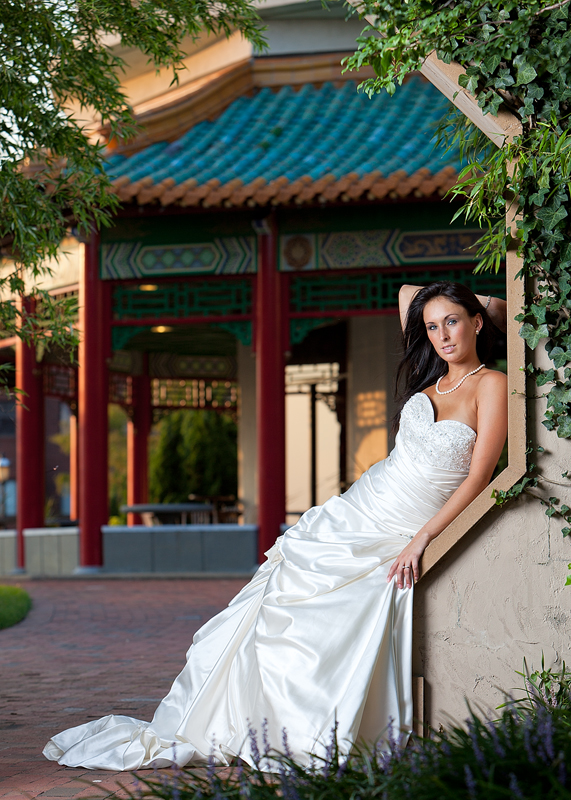
Me! I was so excited yesterday morning to find out that my work was featured on Hampton Roads Bride's website. Kelsey L. Clayton the Assistant Editor at Hampton Roads Magazine originally contacted me a few weeks ago while I was wrapping up an Outdoor Lighting Workshop that I teach to find out if I was interested in submitting some of my wedding and bridal images to be featured on their site. With enthusiasm I replied "Absolutely!"

I gathered images from my last 5 weddings and bridal shoots and contacted the brides to let them know the exciting news. It seemed like Deja vu yesterday morning. I was wrapping up another Outdoor Lighting Workshop and I got an email from Kelsey stating that the my feature was just posted to their site. Of course I called my wife to share the great news. I also called the brides and my friend Genevieve who has assisted me in creating most of these beautiful images. Here's the link to the feature: HR Bride: Will King Photography and some more great images from recent weddings and bridal shoots.

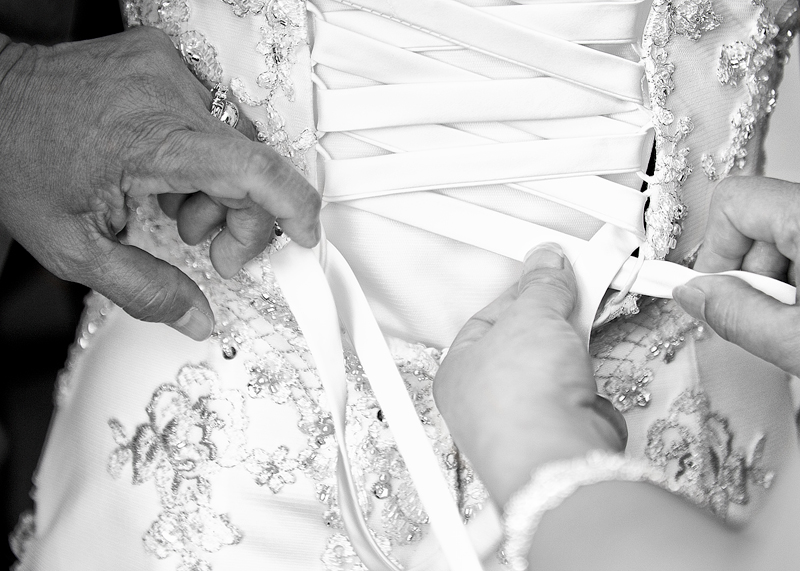
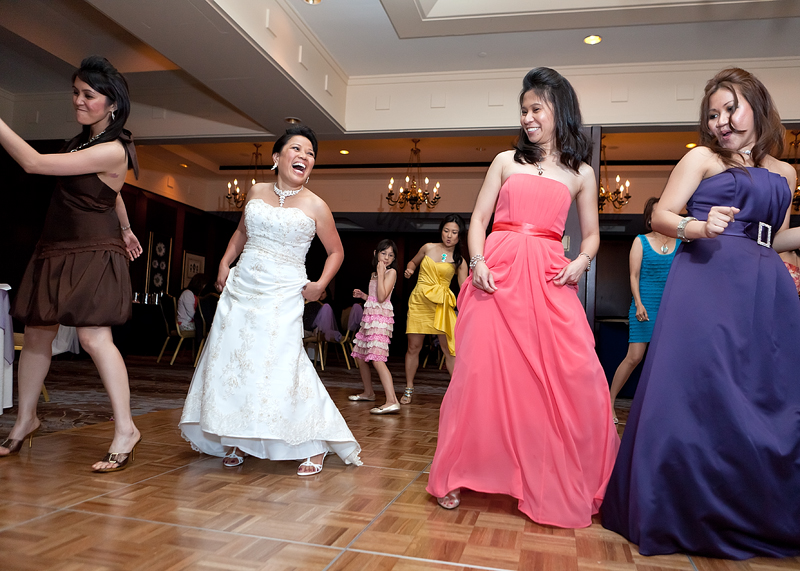
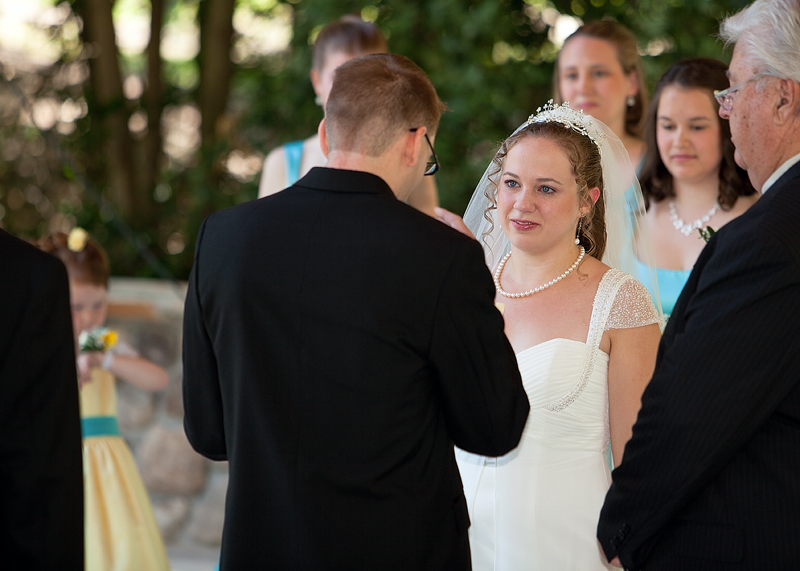
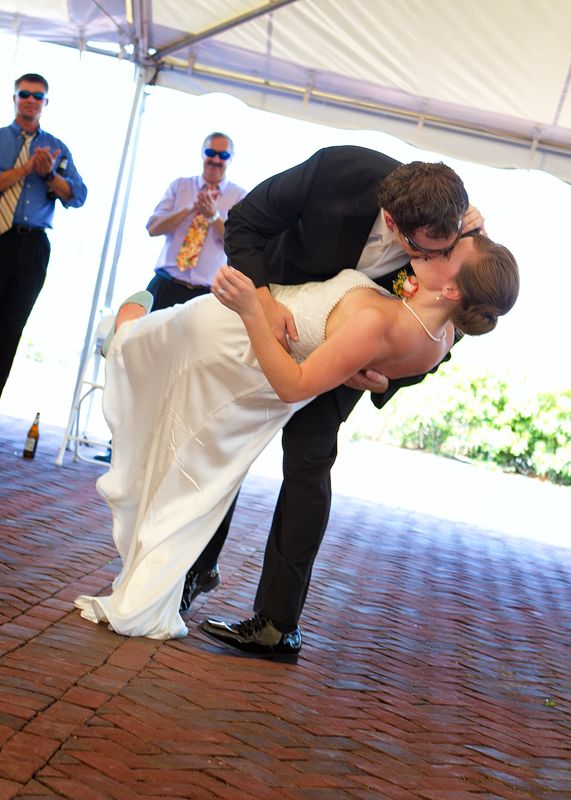
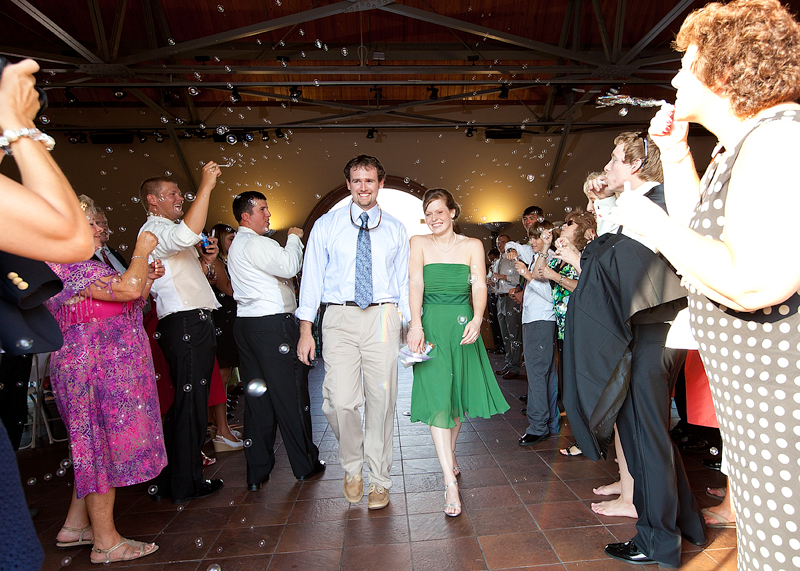
Jocelyne and Tim's wedding
JocelineTim_Formal-23

JocelineTim_Preceremony-35

JocelineTim_Reception-110


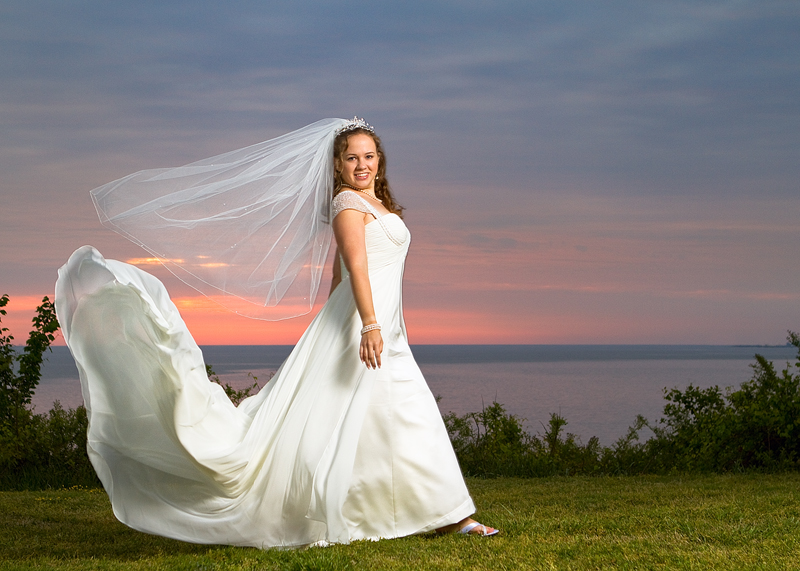
Tiffany and Stephen's bridal shoot and wedding
Tiffany-20100424-28-Edit-Edit

TiffanyStephen_Ceremony-48

Sarah and Kyle's engagement shoot and wedding
SarahKyleEngagement2-24-Edit

SarahKyle4

SarahKyle3


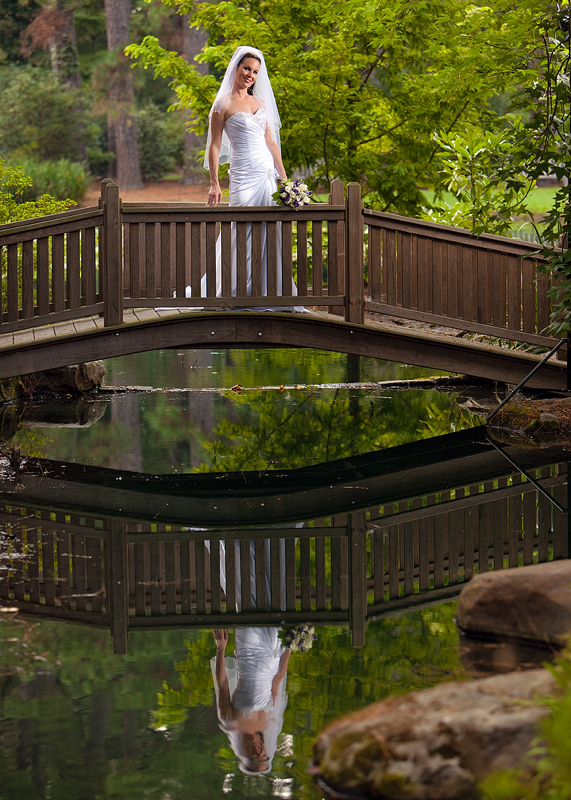
Amy Ore's bridal shoot
AmyOre_Bridal-34

AmyOre_Bridal-08


Brittany Dye's bridal shoot
BrittanyDye_BridalNorfolk-066-Edit

BrittanyDye_BridalNorfolk-034

Sunday, September 12, 2010

Photoshoot with Kelly Gaita

Hampton Roads might recognize Kelly Gaita from Fox 43. She was one of the co-hosts of the Hampton Roads Show. Kelly was also chosen as the Face of Fox 43 a couple of years ago. I initially met Kelly last Fall when she interviewed me for a segment that Fox 43 had on Holiday Photos. (You can view the video here.

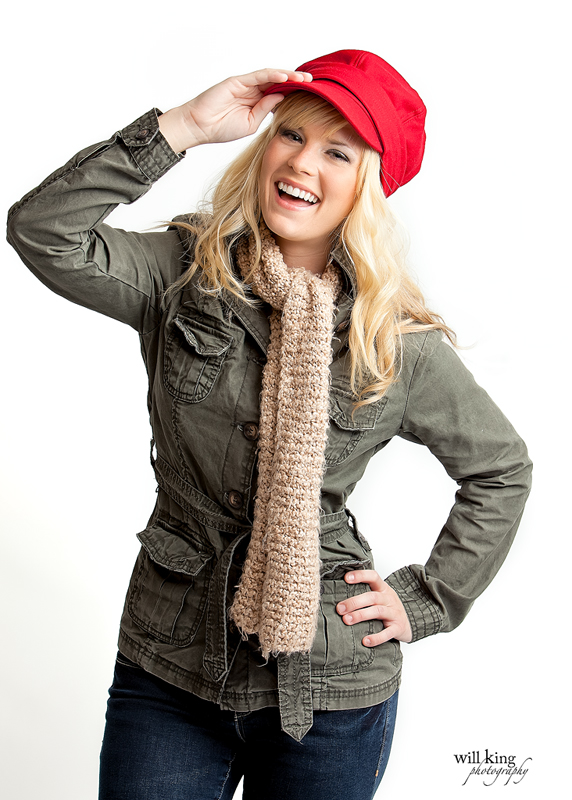
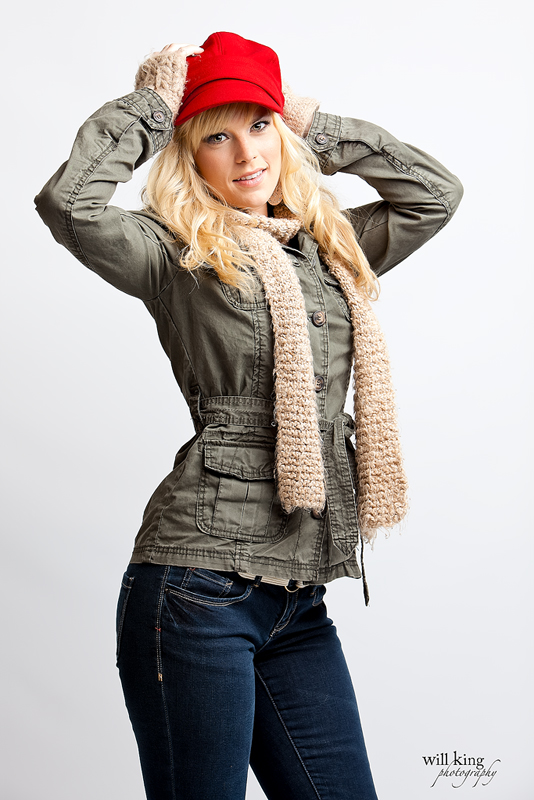
Kelly is now pursuing other things and modeling is one of them. We talked about taking some headshots but I thought since she was going to be in the studio, why not get some other looks. Kelly suggested some casual Fall clothing.

I thought she was a natural and the images came out great. Here are 2 shots that I can easily see as a Target ad.
BTW, I used a beauty dish situated behind a 4x6 foot California Sunbounce frame with the 2/3 stop diffusion fabric which created some gorgeous soft light.
_MG_6375-Edit-Edit-3

KellyGaita_100909-058-Edit-Edit


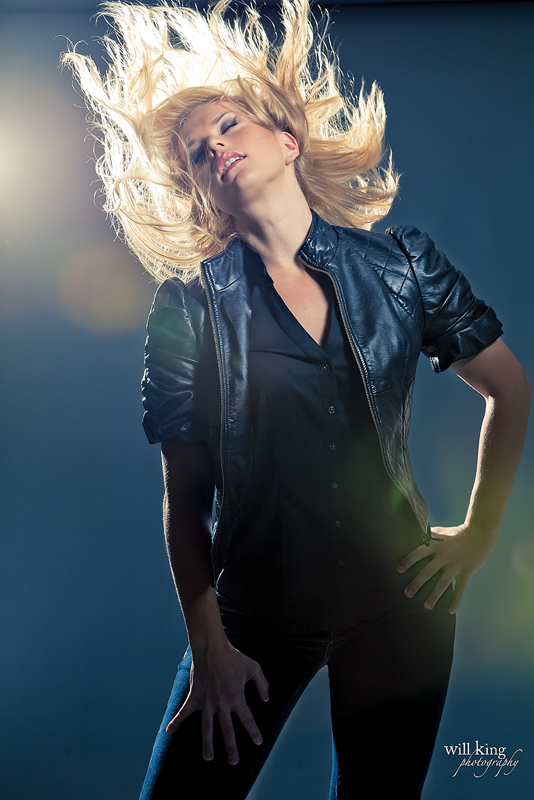
We also did something a little edgier with darker wardrobe and with harder light. I had a strobe with a small cone reflector behind Kelly, camera left and a beauty dish in front of her, camera right. The flare was created by the light, no Photoshop tricks. I did however, cross process this image to achieve the colors and tones.
_MG_6684-crossprocess

Monday, August 30, 2010

How I made this image

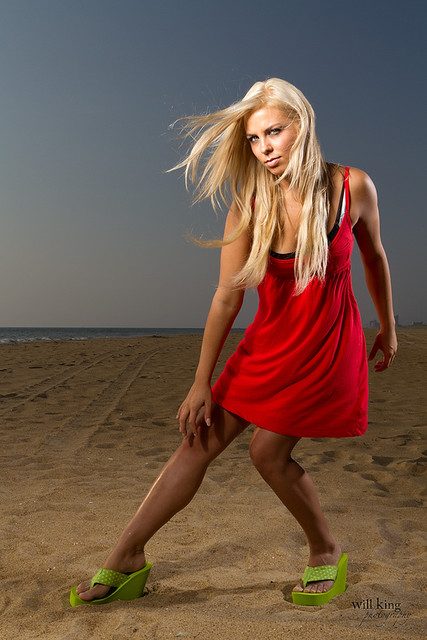
To my surprise, the image below is now my most popular image on flickr. It has the most views (over 5000), the most comments (26), been marked as a favorite the most times (141) and has been featured in flickr Explore.

Funk Fresh

I used a Canon EOS 7D paired with the Canon EF 24-70mm f/2.8L
(f/8, 1/160, ISO100)

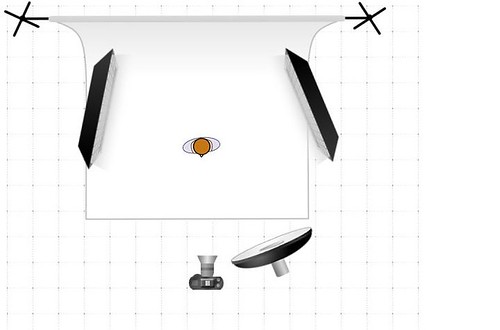
I lit it with an Einstein 640 inside of a gridded stripbox on each side and a White Lightning X3200 inside of a gridded beauty dish from above, camera right.
LD1

Only minor color and contrast corrections were made in post processing.

Monday, August 23, 2010

3rd Installment of the Outdoor Lighting Workshop

In the 1st Installment of the Outdoor Lighting Workshop , I discussed how to balance the available light with flash. In the 2nd Installment of the Outdoor Lighting Workshop , I discussed how to make some dramatic images when the balance between available light and flash is....well, not so balanced. This 3rd Installment of the Outdoor Lighting Workshop will feature images that were taken with just available light or with a simple reflector.

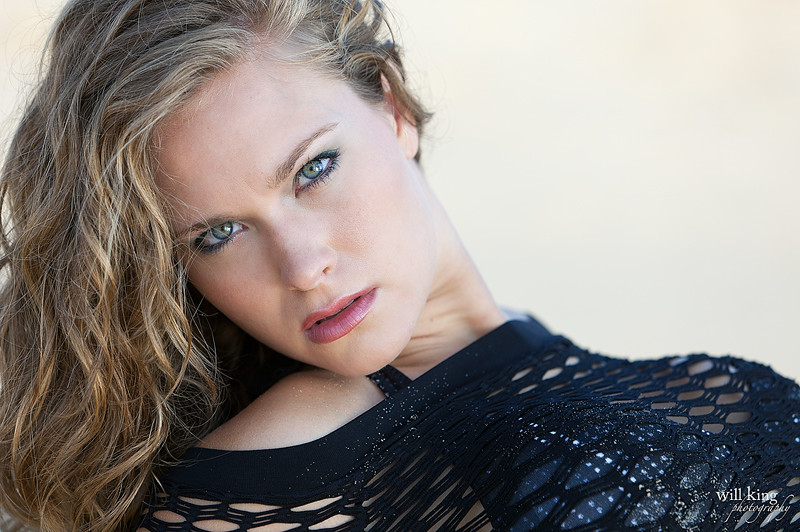
This image was taken with EOS 5D Mark II with a 70-200mm f/2.8L IS lens. Exposure settings were (f/5, 1/250, ISO100)
We used a Lastolite 48" Trigrip Reflector Soft Silver/Sunfire with the Sunfire side on the model.

_MG_4489-Edit

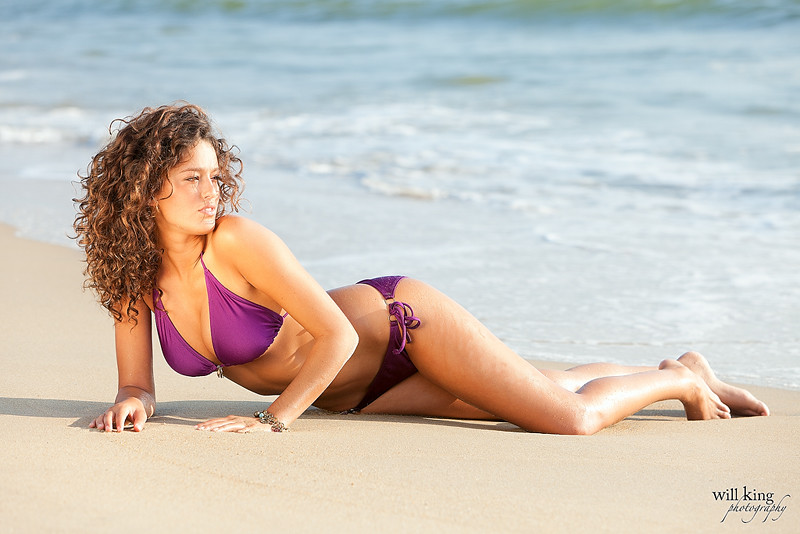
For this shot, we used the same gear, EOS 5D Mark II with a 70-200mm f/2.8L IS lens. Exposure settings were (f/4, 1/400, ISO100)This time we used the Lastolite Tripgrip to block the harsh sun. There was enough light bouncing off of the sand to illuminate her face.

_MG_4536-Edit-Edit-Edit

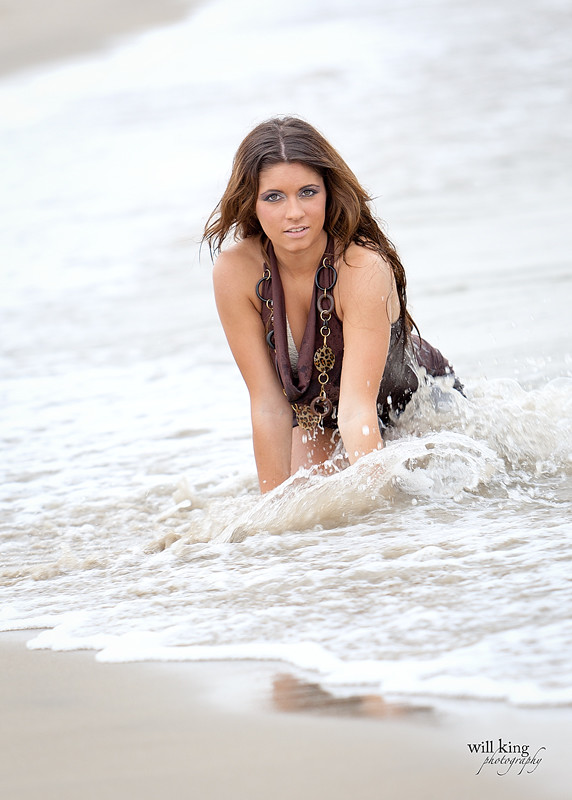
This last image was taken yet again with the EOS 5D Mark II with a 70-200mm f/2.8L IS lens combo. Exposure settings were (f/3.5, 1/250, ISO100)
It was taken using just available light. No flash and no reflectors.
_MG_9677-Edit

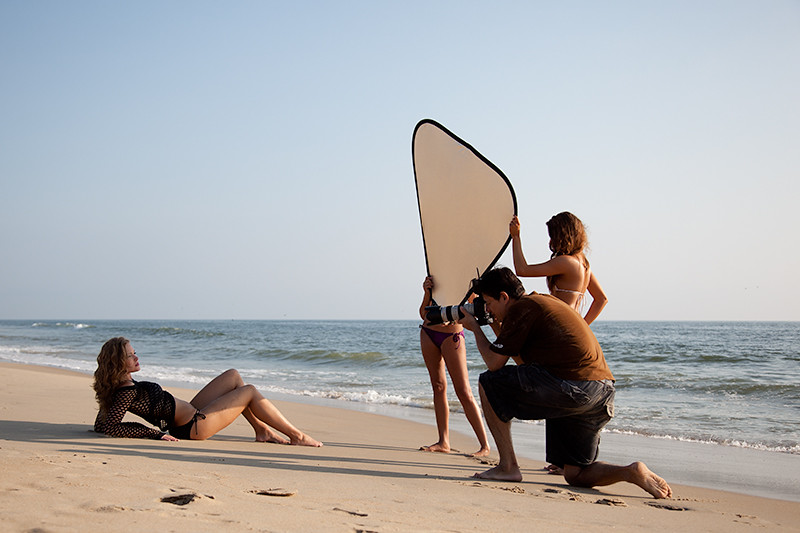
Here are some behind the scenes shots courtesy of Eric Carlson:
_MG_2633-Edit

_MG_2659-Edit

_MG_2785-Edit

Tuesday, August 17, 2010

2nd Installment of the Outdoor Lighting Workshop 8-7-10

In the the first installment, I wrote about how to balance the ambient exposure and flash exposure. This time I wanted to show images using a technique often referred to as overpowering the sun.

In most cases when using flash outdoors, you're dealing with 2 exposures: Ambient and Flash. A good balance between the two exposures is normally the goal, however, you can do some dramatic things when the balance is severely shifted.

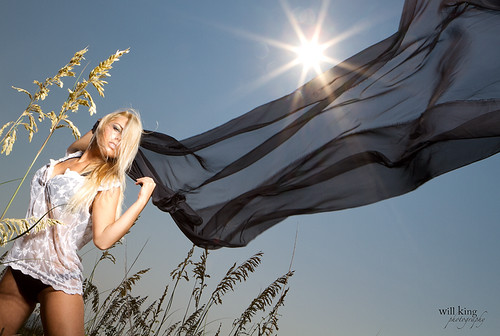
In the image below, I used a Canon EOS 7D paired with the Canon EF 24-70mm f/2.8L. I underexposed the ambient light by at least 2 stops and to be honest, I would have underexposed it even more if I could have. My camera settings were f/22, 1/250, ISO100. f/22 was the smallest aperture I could go to and 1/250 is the fastest shutter speed the 7D can sync with flash. I used two strobes to light this. One on each side.

_MG_8433-2-Edit

Here's another example. Canon EOS 7D paired with the Canon EF 24-70mm f/2.8L f/18, 1/250, ISO100. Two strobes.

_MG_8387-2-Edit-Edit

Wednesday, August 11, 2010

Outdoor Lighting Workshop 8-7-10

My Outdoor Lightning Workshops have been a great success these past few weeks. Last Saturday we held the workshop at Virginia Beach bright dark and early. We started shooting and lighting before the sun came up. The goal for the day was to create different looks and from the results we achieved, I'd say we accomplished our goal.

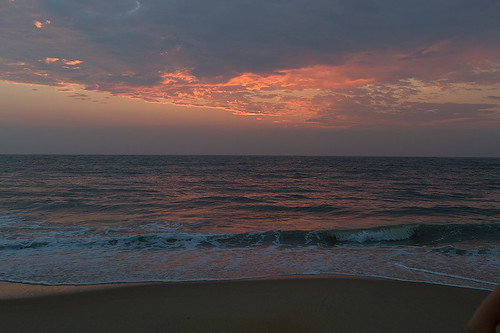
I'm going to be breaking this into 3 different blog entries. This first entry will showcase balancing the ambient exposure with flash exposure. For our first series of shots, we wanted to capture all the dynamic colors of the sunrise and be able to light the subject using off camera flash.

My first shot of the morning was a quick exposure check. We had a gorgeous sunrise and my goal was to capture the bold and vibrant colors. I started with my Canon EOS 7D paired with the Canon EF 24-70mm f/2.8L . (f/4, 1/80, ISO100)
OLW 8-7-10
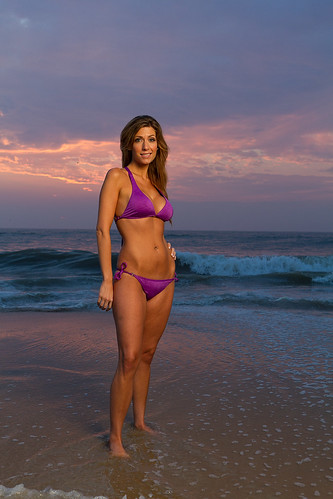
Once I established my base ambient exposure, I had one of our models get in place for another quick exposure check. Same settings.
OLW 8-7-10
Now we're ready to add light. Since we were working at sunrise, the light was changing fast. I adjusted my shutter speed to 1/125 to ensure I still retained the same boldness of the sky. I used a White Lightning X3200 gelled with a 1/2 CTO inside Photek 60" Softlighter II camera right. When using large modifiers outdoors, it's a good idea to have your lights on sturdy support. For this setup, we used the Impact Turtle Base Century C StandNow we're ready to add light. Since we were working at sunrise, the light was changing fast. I adjusted my shutter speed to 1/125 to ensure I still retained the same boldness of the sky. I used a White Lightning X3200 gelled with a 1/2 CTO inside Photek 60" Softlighter II camera right. When using large modifiers outdoors, it's a good idea to have your lights on sturdy support. For this setup, we used the Impact Turtle Base Century C Stand
Here is the result.
OLW 8-7-10
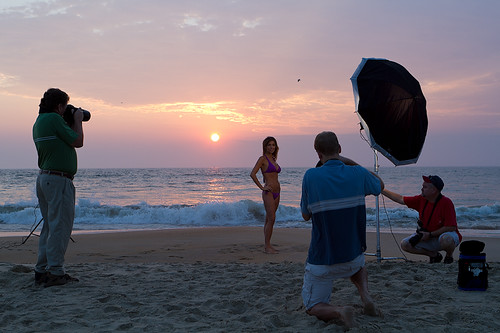
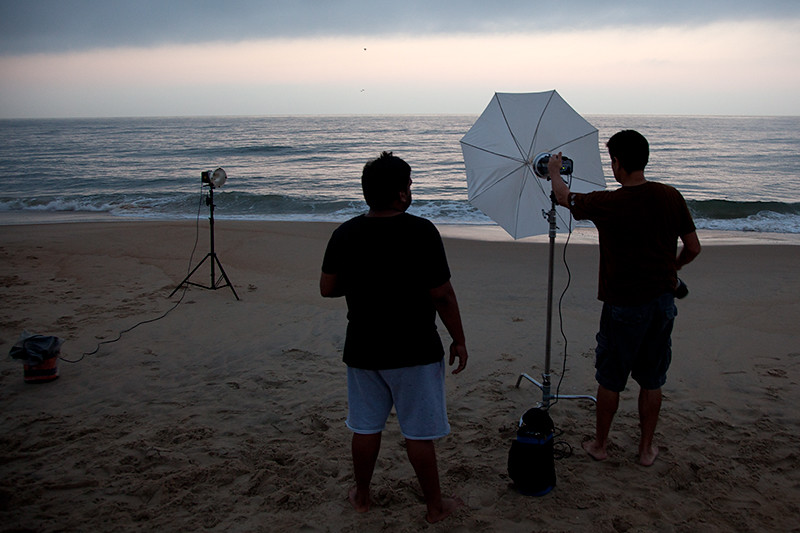
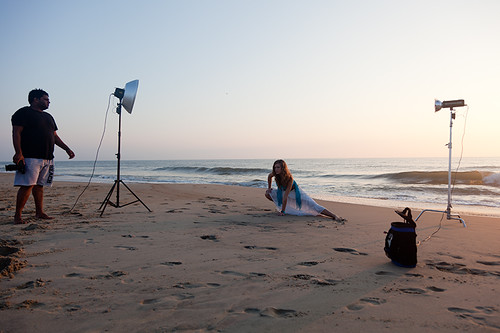
This is what the setup looked like.
OLW 8-7-10
Come back on Friday to see some more shots with a totally different look.
Visit my Facebook page for more images.
B&H