
Reflections
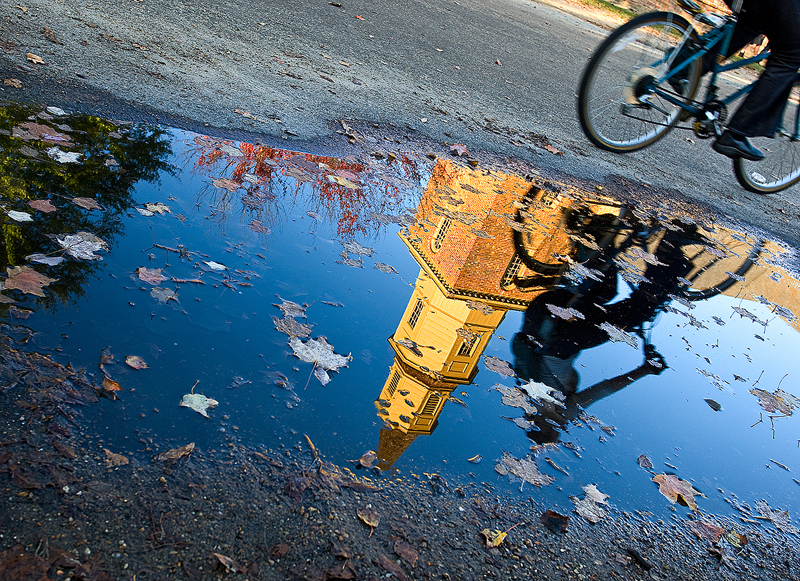
One of the aspects of water that makes it so great for photography is it allows you capture two images in one in the way of reflections. Reflections can vary from mirror-like to an abstract view of lines and colors. How accurate or abstract the reflection is will depend on how calm or rough the water is, how long your exposure is, and how the light is being reflected off of the water. Other than getting the exposure right, there is really no right or wrong way. Attempt shooting at different angles to get different degrees of reflection and vary the shutter speed to change the crispness of the reflection.


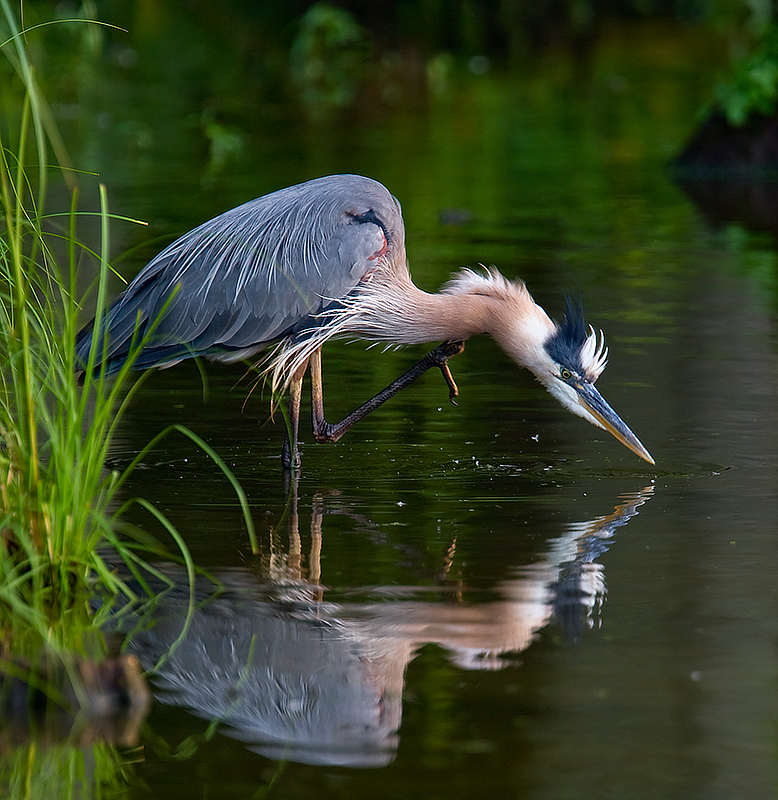
In most cases, a reflection serves as an accent to the main subject, however, you can make the reflection the main subject and allow reality to take the supporting role.....
or just only showcase the reflection as an abstract.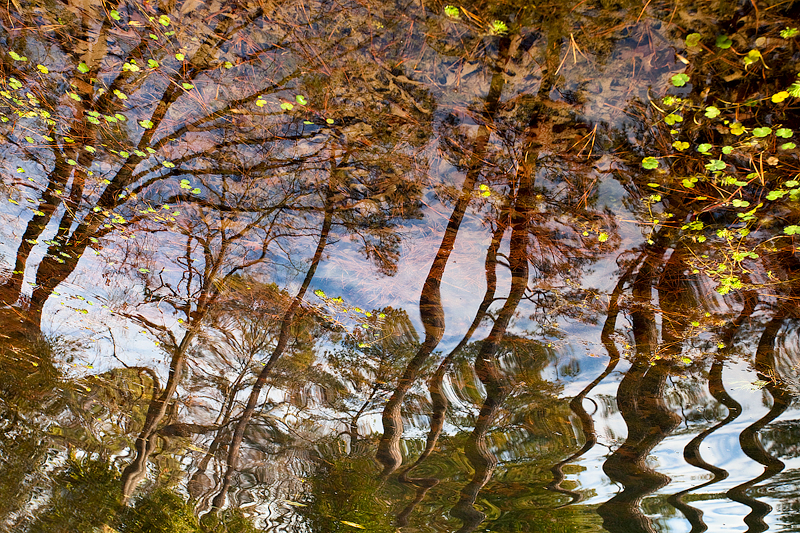
Shutter Speed
What makes water so versatile is that it can change forms and you can control what form it can morph into with your shutter speed.
With a very fast shutter speed, you can freeze water droplets to accentuate the feel of a splash.
1/2000
1/1000
Slow down the shutter speed a little and you can turn water into silk.
.5 with a 4 stop ND filter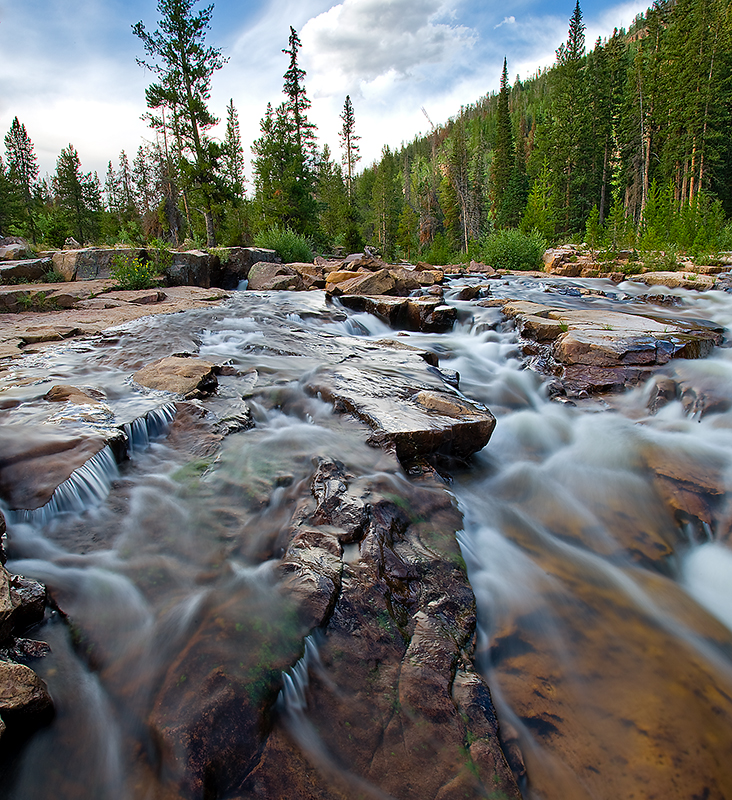
Slow down the shutter speed a little more and you can turn water into milk.
15 seconds with a 4 stop ND filter.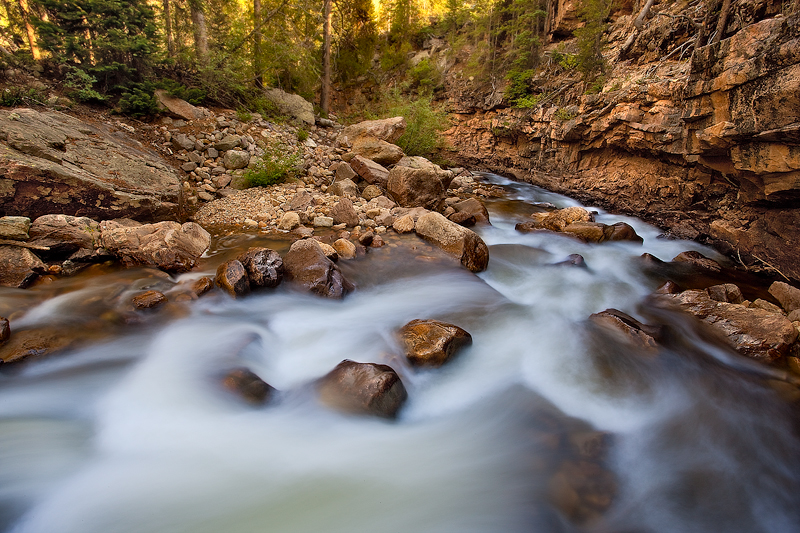
Go even slower and you turn water into fog or ice depending on how much motion is in the water.
3 mins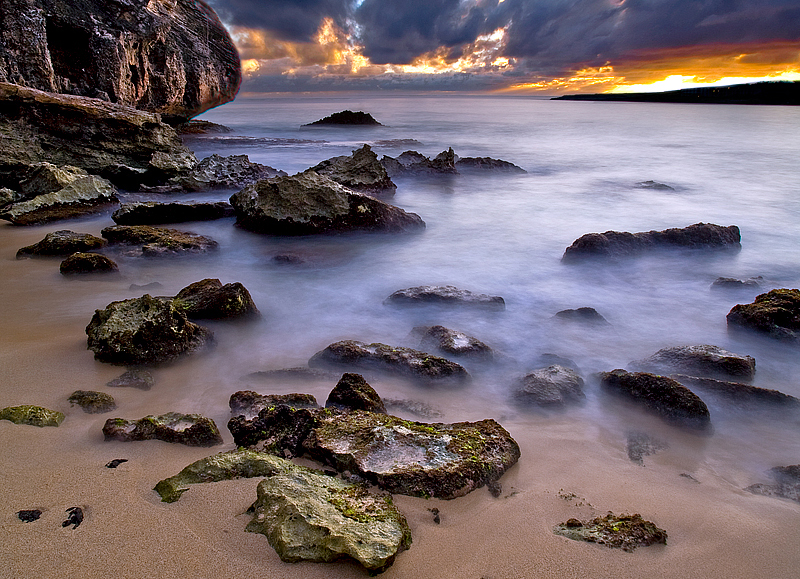
5 mins
Safety Considerations
Water can boost the aesthetic value to your photos but keep in mind that there are some considerations to make when photographing water. First is safety. Not only your own safety but the safety of your gear. I have had plenty of close calls trying to get "that shot". Water of course makes things slippery so be careful when walking on rocks that are wet.
Water can also be unpredictable. When photographing at the beach, do not let go of your tripod. Waves can come in and loosen the footing of your tripod enough to wash away your gear or an unexpected wave can splash up and get your gear wet.
Special Gear
Depending on the conditions and what affect you're trying to capture, photographing water will require special gear.
A tripod and a sturdy ballhead are a must for long exposure shots. A cable release is helpful as well to maximize sharpness. Tripods with a hook below main shaft can be beneficial so you can hook your camera bag or a bag with a phone book in it to stabilize it from wind and moving water.
A Neutral Density filter will allow you to slow down the shutter speed to get that creamy water effect. There are several intensities of neutral density filters and they are measured how many "stops" of light they can impede. For example, if your camera is metering ISO100, f/22, 1 second, you can keep the same ISO and aperture but increase the shutter speed to 4 seconds by adding a 2 stop neutral density filter. Neutral density filters are neutral gray and should not have an affect on the white balance. If you decide to get a screw on ND filter, be sure you get the right size that screws on your lens.
Circular Polarizers are in my opinion the most valuable of all filters. They not only saturate colors, and block glare, but they are the only filters that cannot be duplicated in Photoshop. CP filters are very beneficial when photographing water because they allow you to see what's under the water. You can adjust the effectiveness or the intensity a CP filter by twisting the filter while on the lens. Most CP filters will decrease the light coming in by 2 stops at its full polarization.
Without CP filter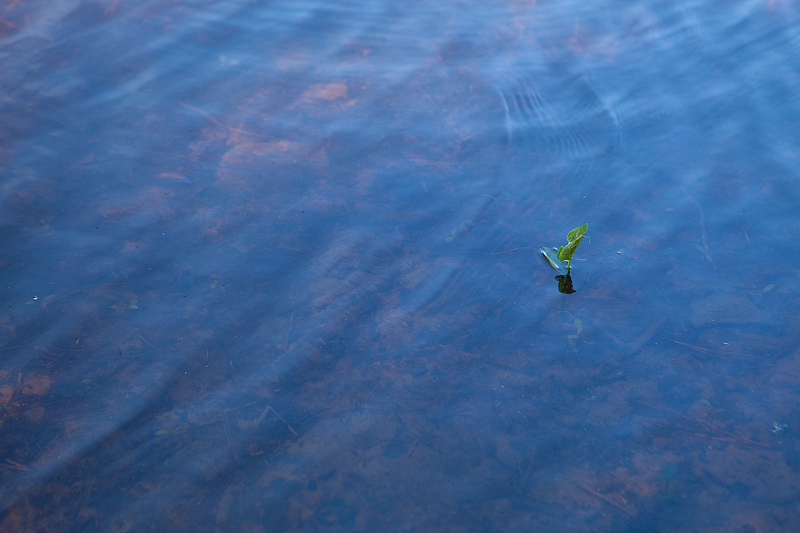
With CP filter at max polarization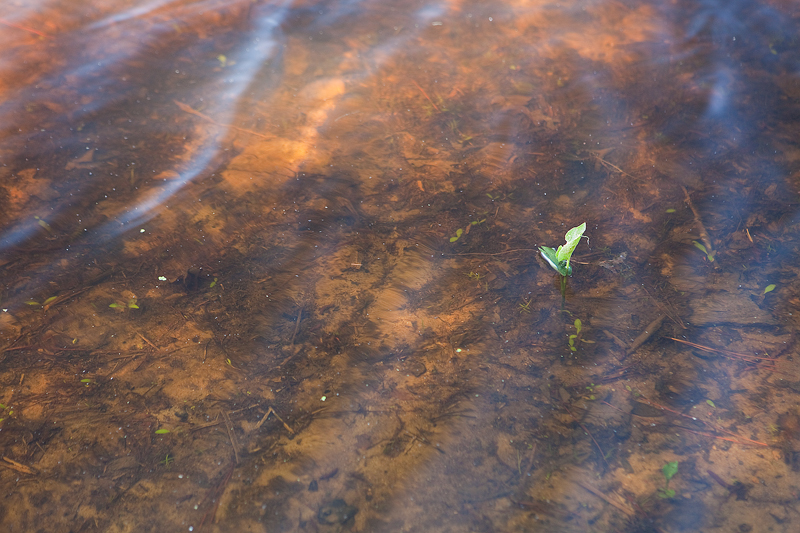
These two shots were taken a split second a part on a tripod. Both were taken with a white balance of 5400 Kelvin. The first (without CP) was shot at ISO400, f/4, 1/125. The second (with CP) was shot at ISO400, f/4, 1/30.
Conclusion
The next time you're out with your camera, look for water. It can be a lake, a sprinkler, or even a puddle. Think about how to add that element of water to improve your photo. Play with angles, try varying shutter speeds, twist on a circular polarizer, and be creative!