My Outdoor Lightning Workshops have been a great success these past few weeks. Last Saturday we held the workshop at Virginia Beach
bright dark and early. We started shooting and lighting before the sun came up. The goal for the day was to create different looks and from the results we achieved, I'd say we accomplished our goal.
I'm going to be breaking this into 3 different blog entries. This first entry will showcase balancing the ambient exposure with flash exposure. For our first series of shots, we wanted to capture all the dynamic colors of the sunrise and be able to light the subject using off camera flash.
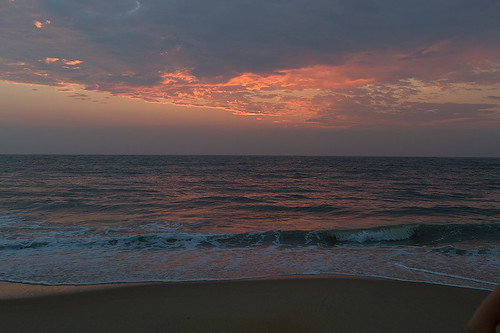
My first shot of the morning was a quick exposure check. We had a gorgeous sunrise and my goal was to capture the bold and vibrant colors. I started with my
Canon EOS 7D paired with the
Canon EF 24-70mm f/2.8L . (f/4, 1/80, ISO100)
Once I established my base ambient exposure, I had one of our models get in place for another quick exposure check. Same settings.

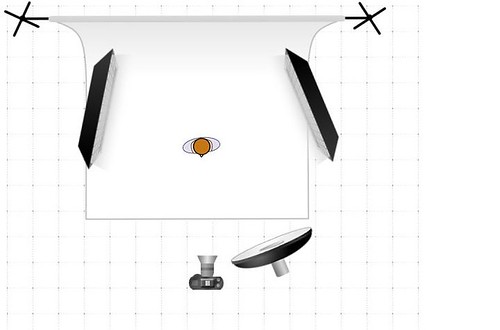
Now we're ready to add light. Since we were working at sunrise, the light was changing fast. I adjusted my shutter speed to 1/125 to ensure I still retained the same boldness of the sky. I used a White Lightning X3200 gelled with a
1/2 CTO inside
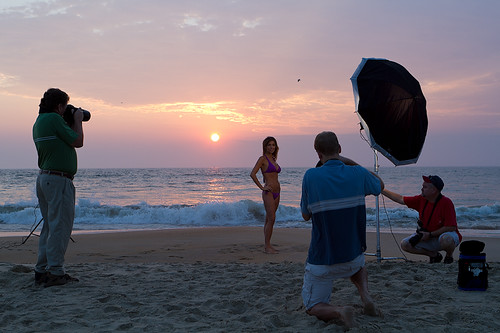
Photek 60" Softlighter II camera right. When using large modifiers outdoors, it's a good idea to have your lights on sturdy support. For this setup, we used the
Impact Turtle Base Century C StandNow we're ready to add light. Since we were working at sunrise, the light was changing fast. I adjusted my shutter speed to 1/125 to ensure I still retained the same boldness of the sky. I used a White Lightning X3200 gelled with a
1/2 CTO inside
Photek 60" Softlighter II camera right. When using large modifiers outdoors, it's a good idea to have your lights on sturdy support. For this setup, we used the
Impact Turtle Base Century C Stand
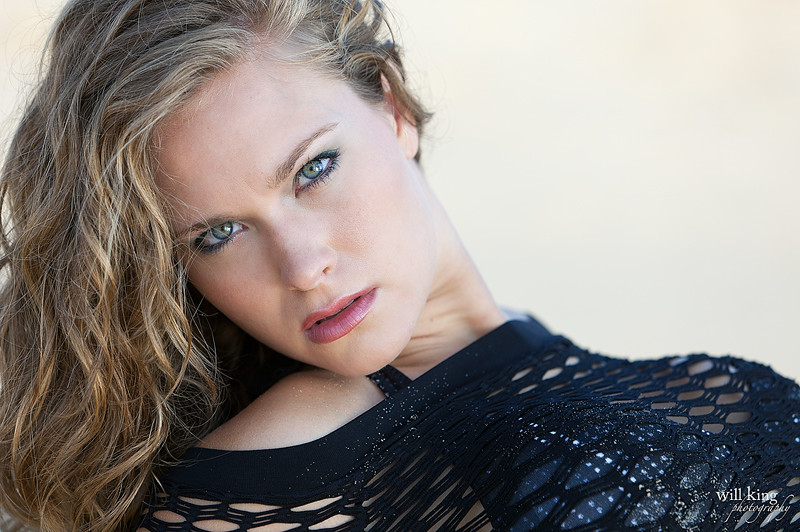
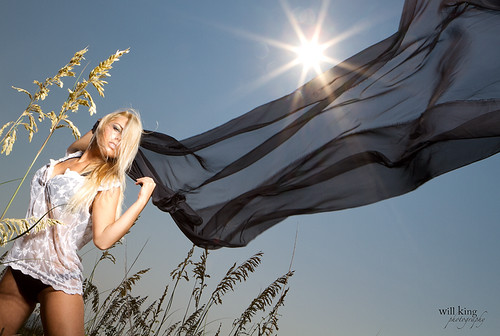
Here is the result.
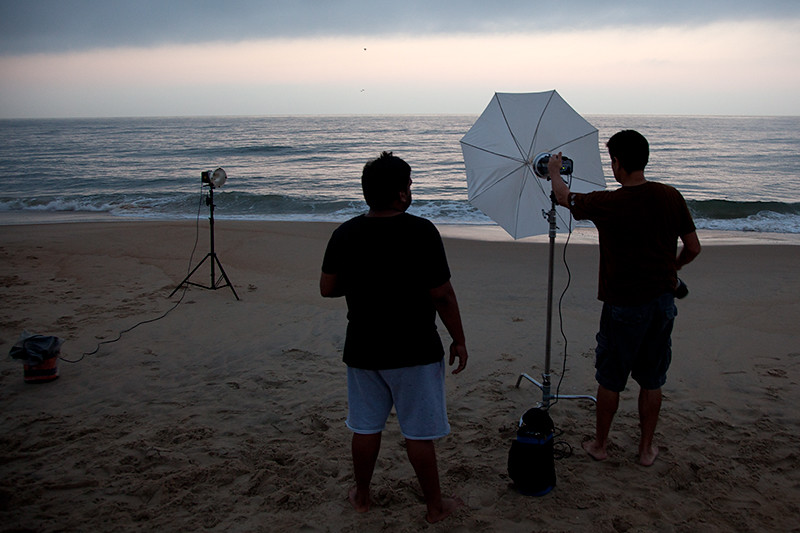
This is what the setup looked like.
Come back on Friday to see some more shots with a totally different look.
Visit my
Facebook page for more images.