Friday, July 3, 2009

McNally, Models, & Modifiers....Oh My!

My buddy Steve and I took a trip to Dobbs Ferry, NY. Dobbs Ferry is about 30 minutes outside of Manhattan......well more like 2 hours outside of Manhattan with NY rush hour traffic. We drove 8 hours, through 5 states, and through a torrential down pour all to see Joe McNally. Was it worth it? ABSOLUTELY!


Anybody that knows anything about photography, more specifically lighting, knows who Joe McNally is. I saw Joe in action a few months ago in Boston at Photoshop World. I was impressed enough to buy his latest book "The Hot Shoe Diaries." The whole title is actually "The Hot Shoe Diaries: Big Light from Small Flashes." As you might guess the book is about getting the most out of small speedlights. The images in the book are just breathtaking. I also decided to buy his first book "The Moment it Clicks." Another display of imagination, creativity, and inginuity.

When Joe annouced that he was conducting a lighting workshop, I immediately made plans to go and I am so glad that I did. Steve and I arrived at a large white building that Joe rents as studio space but is also used as a warehouse. There were about 16 students there and about 9 or 10 of Joe's staff/friends. We were served a light breakfast with coffee. Joe started out by introducing himself and his friends and the students also made brief introductions. There were actually more than one Canon users :)  Joe actually was thoughtful enough to bring in Syl Arena from pixsylated.com . Syl is commercial shooter from Cali who also is an expert with Canon gear.

After intros and a quick inspirational slideshow, we immediately starting absorbing the knowledge Joe was dropping. What I loved about Joe's approach to teaching is he does not come across as a "know it all." He's been shooting and lighting for probably longer than I've been alive but he'll be the first to tell you that light can have a life of its own and often time it's unpredictable. Joe never talked about precise formulas, ratios, or even used a light meter. His approach was more of "Let's try this and see what happens." More often than not, the lighting was spot on but there were a few times where it was way off. Joe explained that stuff like this happens and explained how to troubleshoot your way back to good lighting. He often started out with one light and one modifier and slowly built up to more lights and more modifiers until a masterpiece was made. Throughout that process, we ran into real world issues and learned how to stay calm and work ourselves through them.

Not only did we work with small speedlights, we also worked with big studio strobes with ocatboxes as large as the spot on Jupiter. Seeing Joe's plethora of gear was like browsing through the studio section of B&H (actually more like Adorama in Joe's case) We all got a chance to shoot several different lighting schemes with a different model at each station. He then broke us up into groups and allowed us to pick a model and a location to shoot at. This is where Syl was extremely helpful. He was able to answer Canon specific questions. Before I forget, I must apologize to him again. I nearly blinded him by accidently popping three 580EX IIs off at point blank range. Sorry Syl.

All in all, the experience was great. Joe impressed me in more ways than one. He was knowledgable, humble, nice, and funny. He memorized all 16 of the students' names. His staff and friends were all great. Just a tremendous pleasure to work with. The models were great too. Almost forgot. The food was home made and it was delicious. No cold cuts and stale bread. We had eggplant parmesian, chicken and veggie stir fry, rice and beans, salad, and dessert.

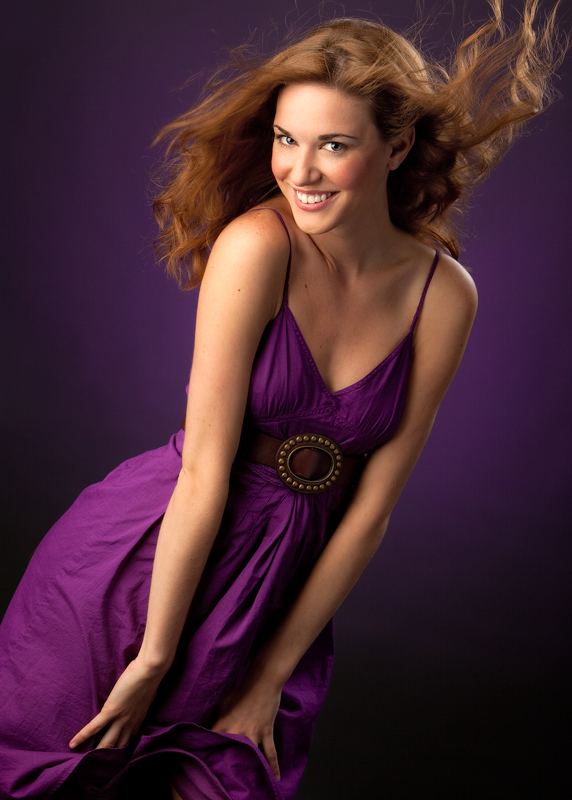
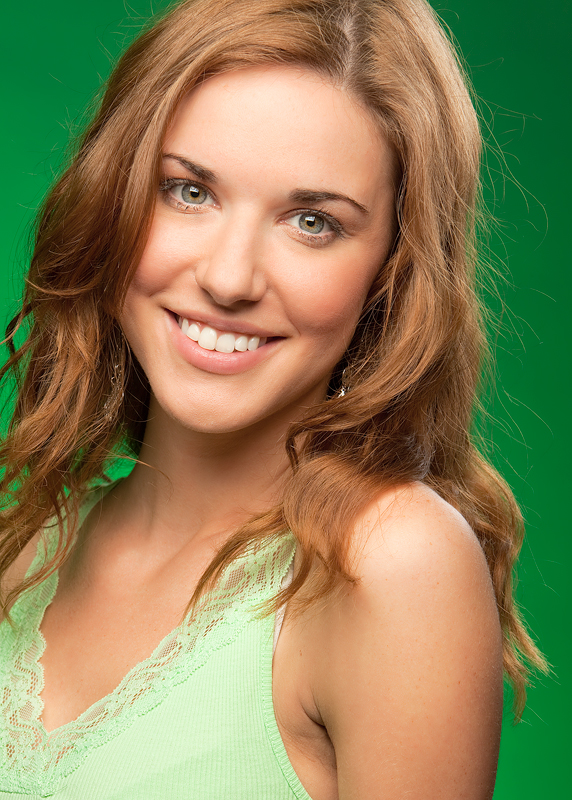
Here is a shot of a model I took. Her name is Bethany and she was extremely nice to work with. I used three of my 580EX IIs bare bulb with a 3/4 CTO on each of them.


Here is a shot of Joe at work:


Oh, almost forgot. I've found a way to set off 3 speedlights with one Pocket Wizard. I bought 2 of Lastolite's Triflashes.


I thought it was a pain to connect 3 Pocket Wizards to each of the speedlights. I found a Y adapter at Radioshack that allowed me to connect 2 speedlights to one Pocket Wizard but I still needed another Pocket Wizard for the 3rd speedlight. After doing a lot of searching online, I found this from Belkin:

It allows me to connect up to 4 speedlights to 1 Pocket Wizard.

Here's my setup:


Does it work? Absolutely!


Saturday, June 27, 2009

Trying New Things

In the past few days, I've tried some new lighting techniques that have rendered some great results. Well, they're not exactly new but they're new to me.

What I have learned:


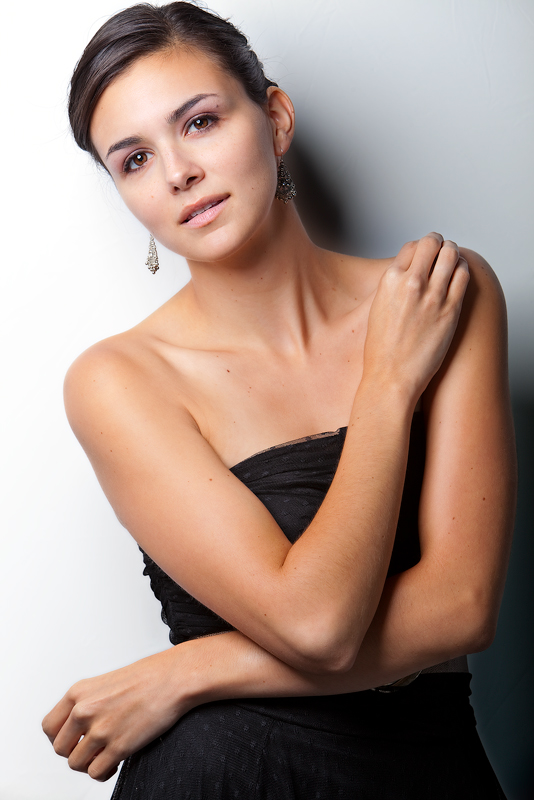
~ I've learned not to always avoid shadows. Shadows can serve to add depth and dimension. I knew this was true when lighting people to create a sense of depth and dimension, hence the genius of off camera lighting, but the shadow that get casted on the background can also add depth and dimension. I think it also adds a bit more drama and an extra element of style.

Sarah
I used a single beauty dish above her. I started out by lighting the white backdrop as well. I soon discovered that the images were more dramatic when I eliminated the backdrop light and introduced the shadowing.


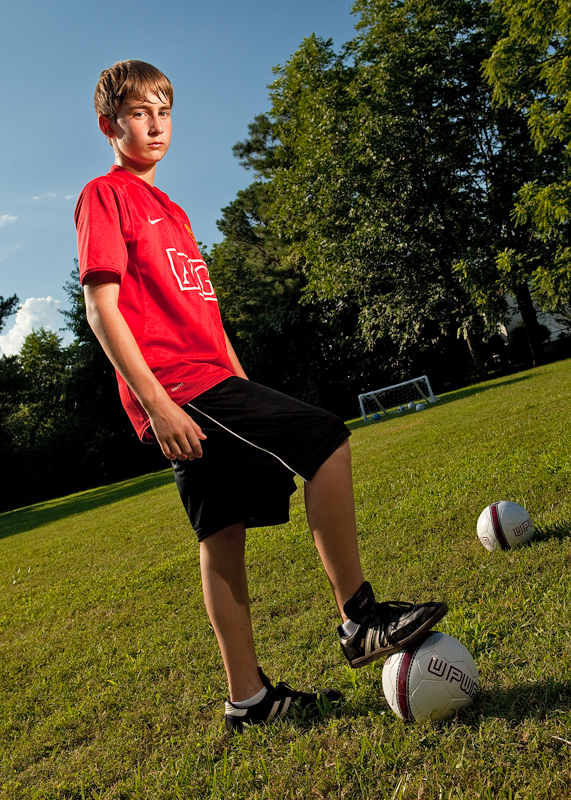
~ I've learned the benefit of HSS (High Speed Sync). Most DSLR cameras only have the ability to synch with flash at no faster than 1/250 of a second. If the shutter speed exceeds the camera's maximum synch speed, than the image will have a black bar towards the bottom of the frame because the camera's shutter closes before all the burst of light is captured. HSS fires very rapid multiple burst of light so the entire frame gets lit. The benefit of HSS is that it allows you to increase the shutter speed therefore you can keep the sky a deep vibrant blue but also have the subject well lit too.

Joel
Sun in the upper left, three 580EXIIs, one 430EXII. All with a 1/2 CTO, bare bulb, from camera right. Triggered by a 24" ETTL off camera cord.
5D Mark II, 24-70mm f/2.8. ISO250, 1/640, f/10


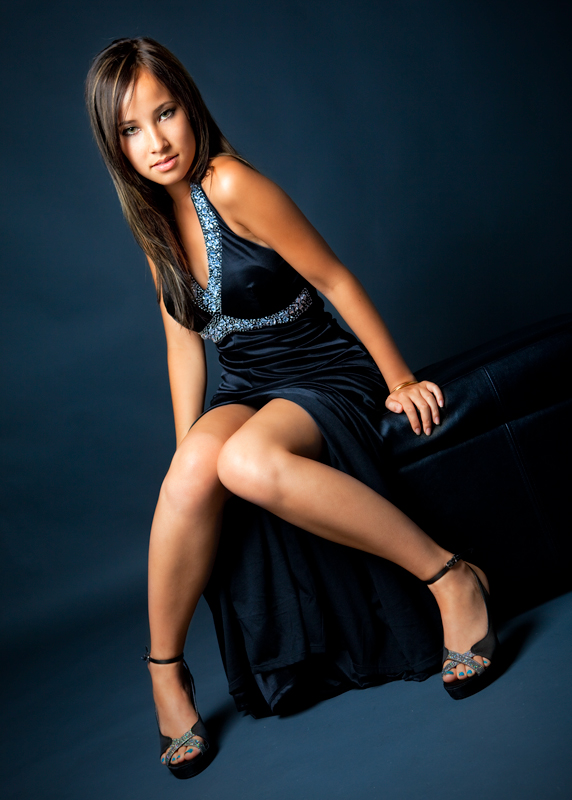
~ I've learned that contrasting colors can really make a subject stand out.

Lisa
I double processed this file to make the background see cooler and Lisa seem a bit warmer.

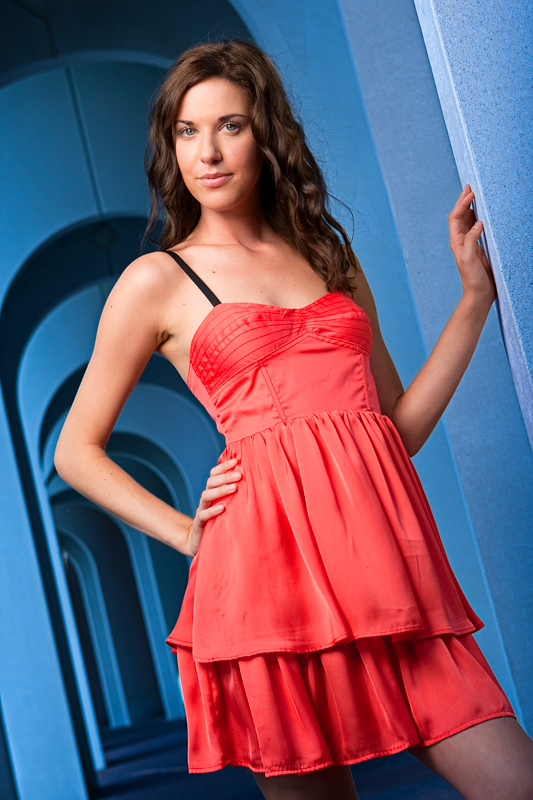
Mandy
I used a 1/2 CTO (Color Temperature Orange) gel over my light to create this effect. By choosing the right White Balance in the camera and the right colored gel over your light, you can do some pretty awesome stuff to the subject and the background as seen here where Mandy has a nice warm glow and the columns behind her are a ice cold blue.

Wednesday, June 24, 2009

Two Images in 1 Photo Contest

Two of my images have been selected as Finalists in Digital Photo Magazine's "Great Escapes" Photo Contest. If you like either one of these images or both, please take a second to vote for them. Thanks.

CLICK HERE TO VOTE


CLICK HERE TO VOTE

Sunday, June 7, 2009

Are you Gellin'

I just discovered the wonderful world of colored gels. I have been doing weeks of research trying to find an easy and econmical solution for a multiple backdrop support system. I wanted to be able to have several color options for backdrops and an easier way of changing them than pulling off one roll of seamless paper and putting another one on. This is not only time consuming but it requires two people.

I found several options for multiple backdrop support systems but they were all expensive, not to mention that I would also have to buy multiple backdrops. I finally stumbled on an article about gelling a backdrop. (Lighting a gray backdrop with a colored gel over the light to change the backdrop's color) I have done with before with a white backdrop with not so great results. The reason why gray or even black seamless paper is better than white is because they tend to saturate the colors in a very vivid way.

I decided on a darker gray seamless paper. I also ordered 15-20 colored gels. Got the package from B&H and gave it a whirl. The results exceeded my expectations.


Monday, June 1, 2009

Recent Portraits

I've been doing a lot of portraits ever since my awesome wife Michele surprised me by converting our garage into a studio. I've been having a great time trying new lighting schemes and using my ultra hi-tech hair blower (fan). Here are some of the recent portraits captured in my new studio:


Angelynn had the perfect hair for the hair fan. It's thick enough not go crazy but light enough to flow well. She also has the thickest and longest eye lashes I've ever seen.


Theresa was a bit shy at first but loosened up when the lights started popping. She worked it like a super-model.


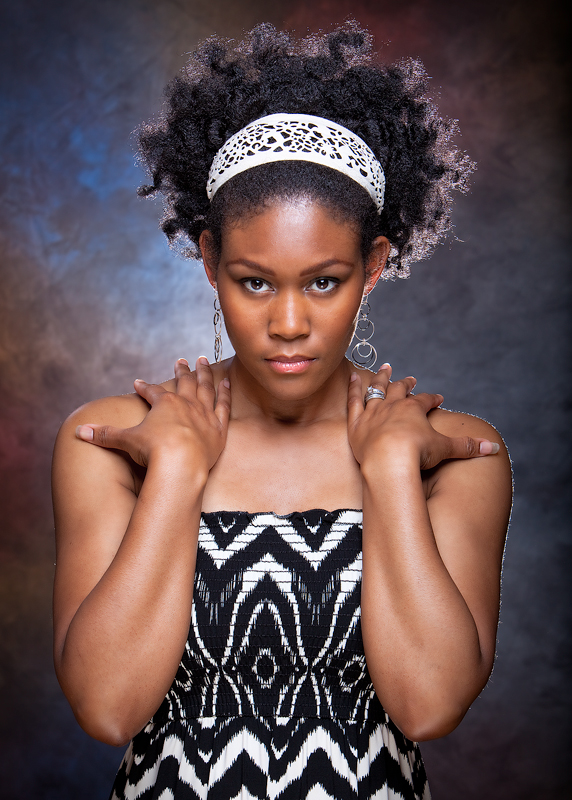
Kenyatta was the perfect model for this low key shot. The shot came out great. Full of mood and character. The hat was a perfect touch.


Meet Ethan. He's a boxer. He'll box your ears. LOL. Ethan has big, beautiful, blue eyes. I thought his parents did a great job of choosing his blue shirt to make his eyes pop even more. I used a huge octabox to make his eyes sparkle even more.

Monday, May 11, 2009

Photographing Water

Water is to photography as cheese or bacon is to food. Take a regular hamburger for instance. Might be tasty. Now add cheese and bacon. You've instantly made a regular hamburger tastier, juicier, and full of cholesterol but that's besides the point. Water does the same thing for photos. No, your RAW files won't be any tastier by boiling them but by adding the element of water to a captured scene, you will instantly add more drama, interest, and creativity. Water can take an ordinary scene and make it extraordinary.


Reflections
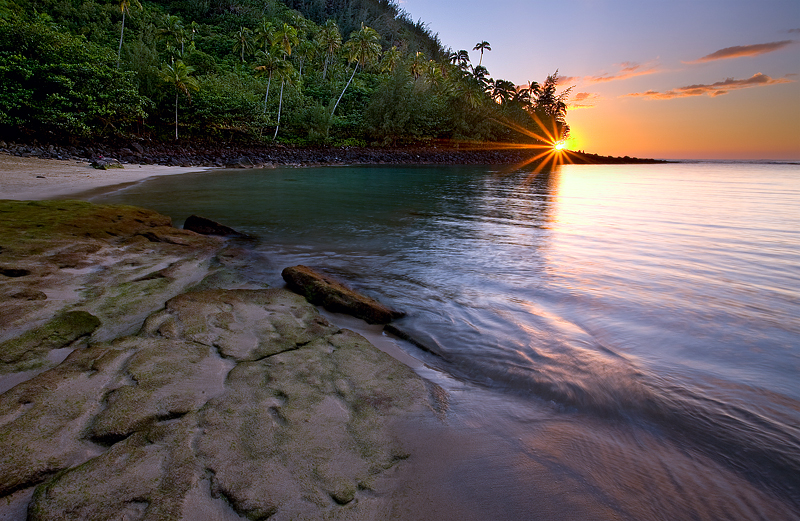
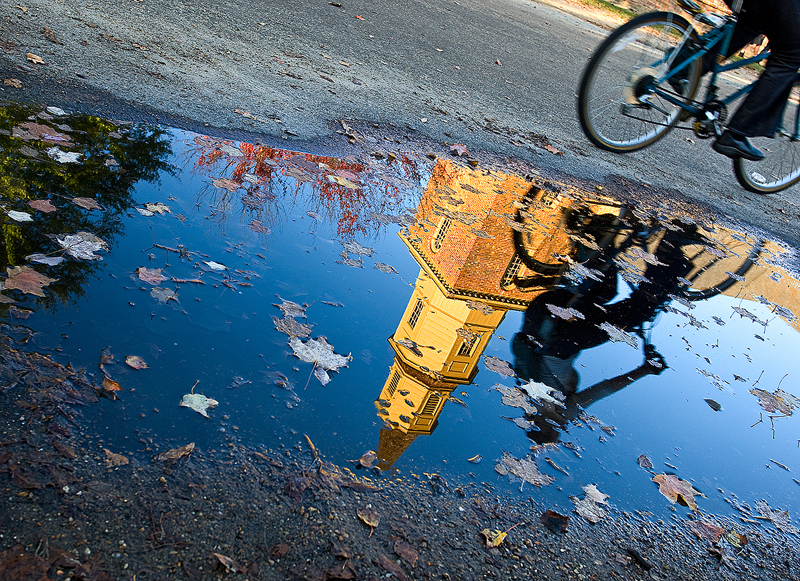
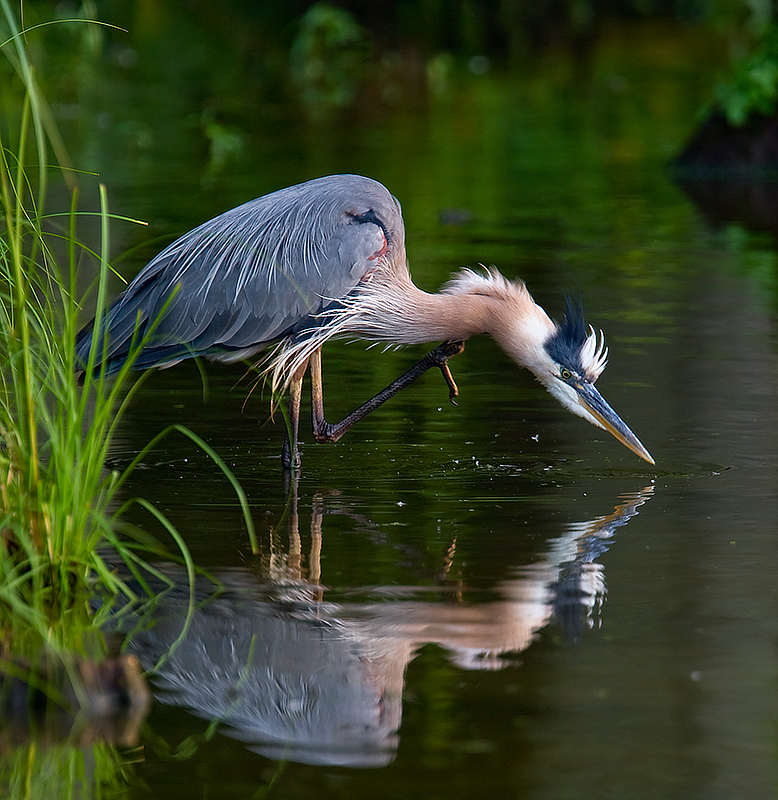
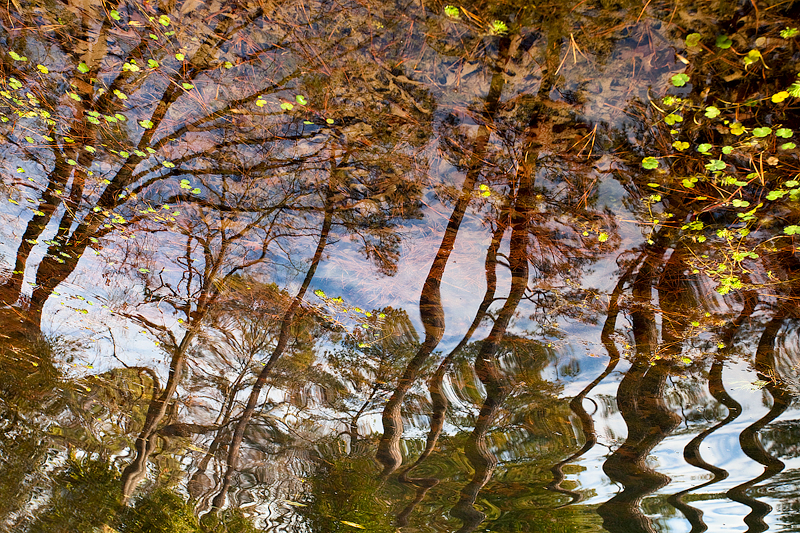
One of the aspects of water that makes it so great for photography is it allows you capture two images in one in the way of reflections. Reflections can vary from mirror-like to an abstract view of lines and colors. How accurate or abstract the reflection is will depend on how calm or rough the water is, how long your exposure is, and how the light is being reflected off of the water. Other than getting the exposure right, there is really no right or wrong way. Attempt shooting at different angles to get different degrees of reflection and vary the shutter speed to change the crispness of the reflection.


In most cases, a reflection serves as an accent to the main subject, however, you can make the reflection the main subject and allow reality to take the supporting role.....

or just only showcase the reflection as an abstract.


Shutter Speed
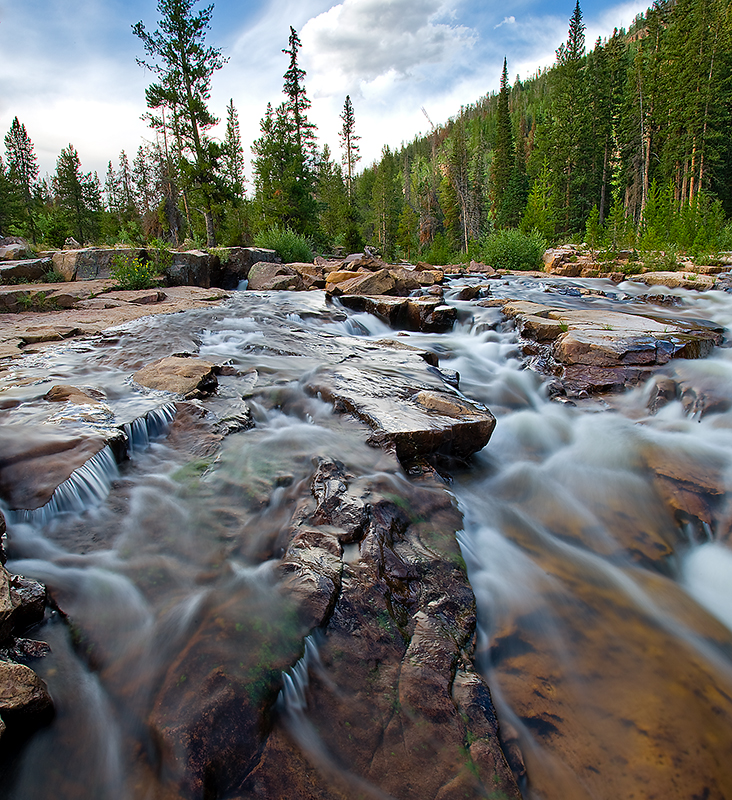
What makes water so versatile is that it can change forms and you can control what form it can morph into with your shutter speed.


With a very fast shutter speed, you can freeze water droplets to accentuate the feel of a splash.

1/2000

1/1000

Slow down the shutter speed a little and you can turn water into silk.

.5 with a 4 stop ND filter

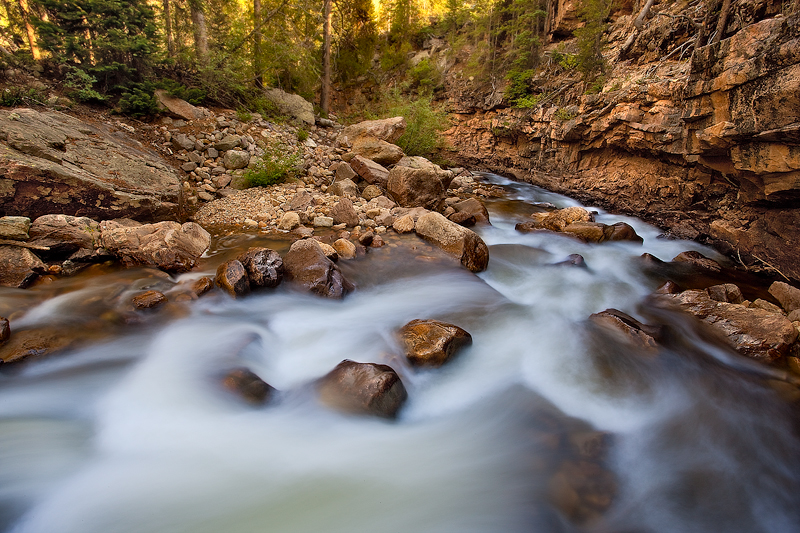
Slow down the shutter speed a little more and you can turn water into milk.

15 seconds with a 4 stop ND filter.

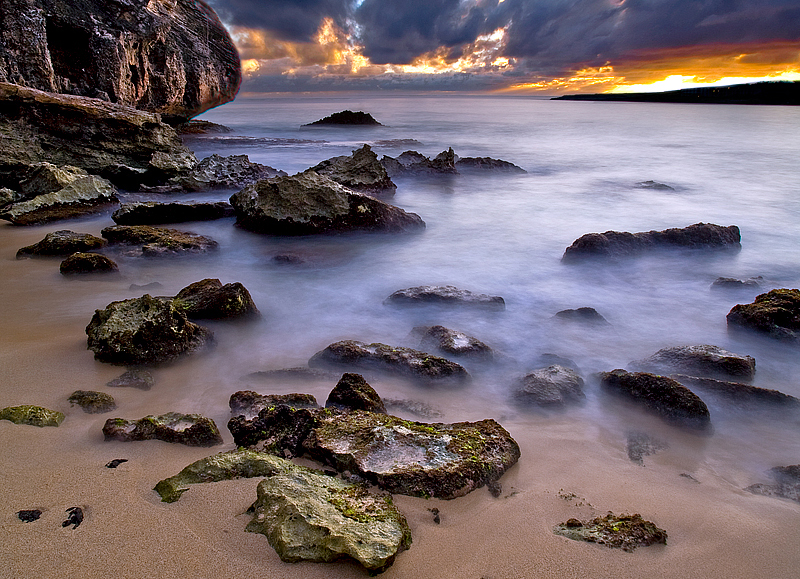
Go even slower and you turn water into fog or ice depending on how much motion is in the water.

3 mins

5 mins


Safety Considerations
Water can boost the aesthetic value to your photos but keep in mind that there are some considerations to make when photographing water. First is safety. Not only your own safety but the safety of your gear. I have had plenty of close calls trying to get "that shot". Water of course makes things slippery so be careful when walking on rocks that are wet.

Water can also be unpredictable. When photographing at the beach, do not let go of your tripod. Waves can come in and loosen the footing of your tripod enough to wash away your gear or an unexpected wave can splash up and get your gear wet.

Special Gear
Depending on the conditions and what affect you're trying to capture, photographing water will require special gear.

A tripod and a sturdy ballhead are a must for long exposure shots. A cable release is helpful as well to maximize sharpness. Tripods with a hook below main shaft can be beneficial so you can hook your camera bag or a bag with a phone book in it to stabilize it from wind and moving water.

A Neutral Density filter will allow you to slow down the shutter speed to get that creamy water effect. There are several intensities of neutral density filters and they are measured how many "stops" of light they can impede. For example, if your camera is metering ISO100, f/22, 1 second, you can keep the same ISO and aperture but increase the shutter speed to 4 seconds by adding a 2 stop neutral density filter. Neutral density filters are neutral gray and should not have an affect on the white balance. If you decide to get a screw on ND filter, be sure you get the right size that screws on your lens.

Circular Polarizers are in my opinion the most valuable of all filters. They not only saturate colors, and block glare, but they are the only filters that cannot be duplicated in Photoshop. CP filters are very beneficial when photographing water because they allow you to see what's under the water. You can adjust the effectiveness or the intensity a CP filter by twisting the filter while on the lens. Most CP filters will decrease the light coming in by 2 stops at its full polarization.

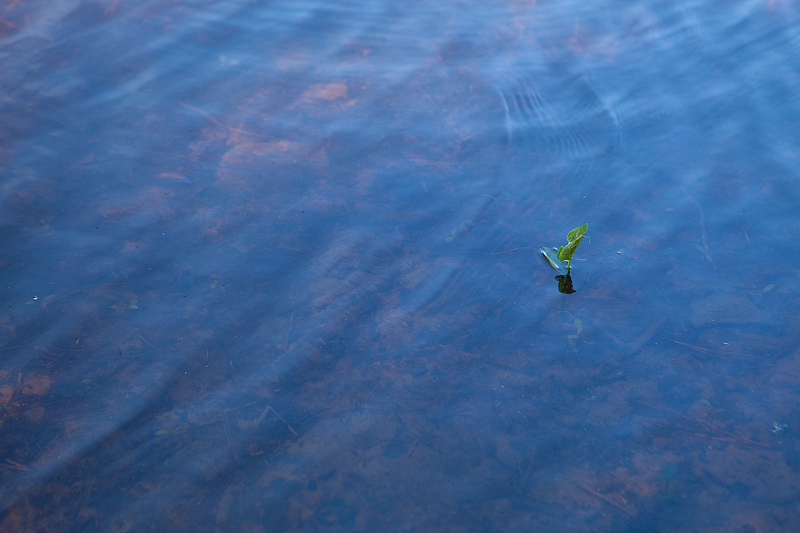
Without CP filter

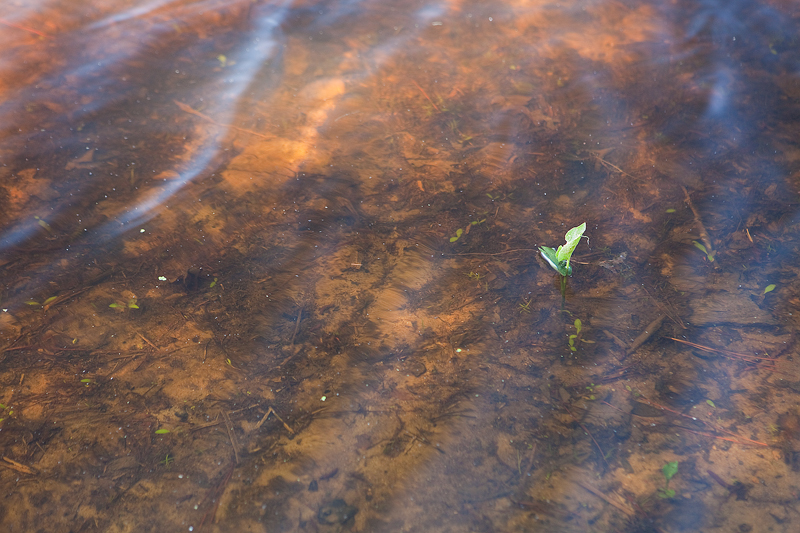
With CP filter at max polarization

These two shots were taken a split second a part on a tripod. Both were taken with a white balance of 5400 Kelvin. The first (without CP) was shot at ISO400, f/4, 1/125. The second (with CP) was shot at ISO400, f/4, 1/30.

Conclusion
The next time you're out with your camera, look for water. It can be a lake, a sprinkler, or even a puddle. Think about how to add that element of water to improve your photo. Play with angles, try varying shutter speeds, twist on a circular polarizer, and be creative!


B&H